
How to implement velocity control on a model from Onshape to Mujoco
Most tutorials explain how to control joint positions in Mujoco. This post covers implementing velocity control instead. I designed my robot model in Onshape and used the Onshape to robot package to convert the CAD assembly to Mujoco XML.
After creating the assembly in Onshape, name the fixed joints as “fix_” and movable joints as “dof_”. Right-click the mates under “Mate features” to rename them. I named my wheel joint “dof_wheel_legs”—this is the joint I want to control with velocity.
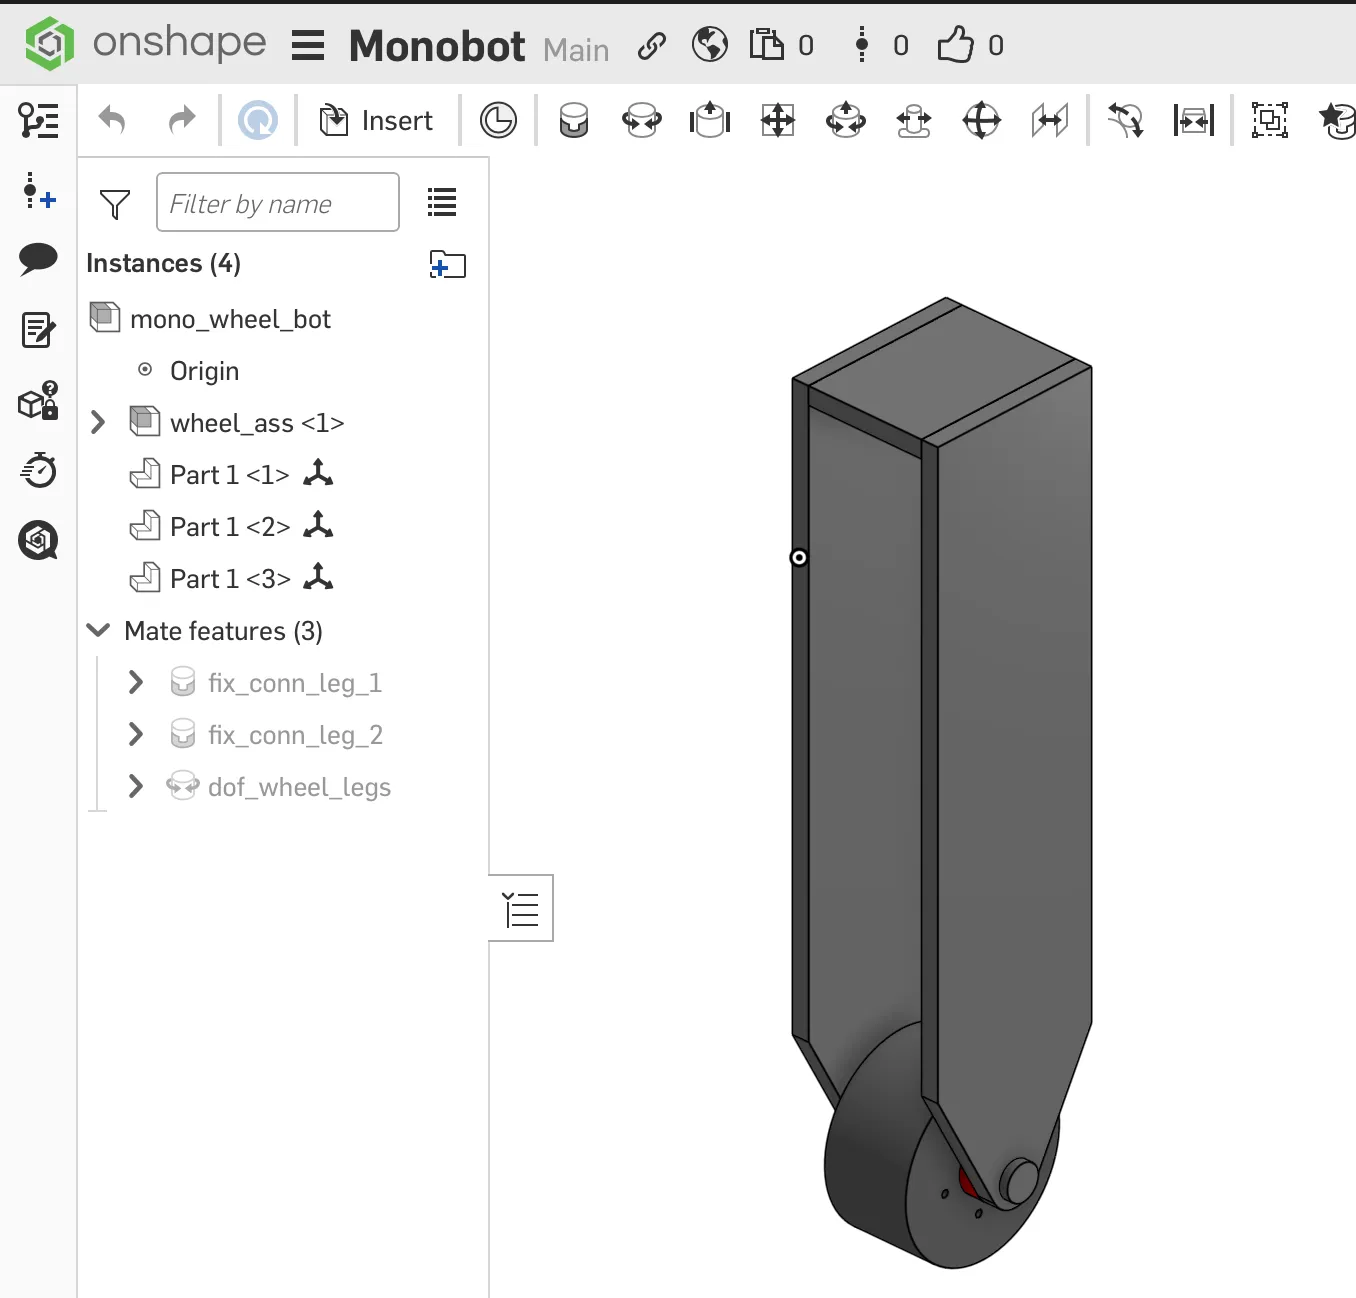
Assign material properties to all parts for accurate physics simulation. Copy your assembly’s URL.
Install the Onshape to robot package and create an API key. Follow these steps to set up authentication.
Create a new directory with the following config.json file:
{
    "url": "<assembly_url>",
    "output_format": "mujoco",
    "joint_properties": {
        "wheel_legs": {
            "type": "velocity",
            "range": false,
	    "kv": 5
        }
    }
}
The joint_properties above enable velocity control of the wheel_legs joint. Drag and drop the generated scene.xml file into Mujoco, then set the joint velocity using the “Control” sidebar.
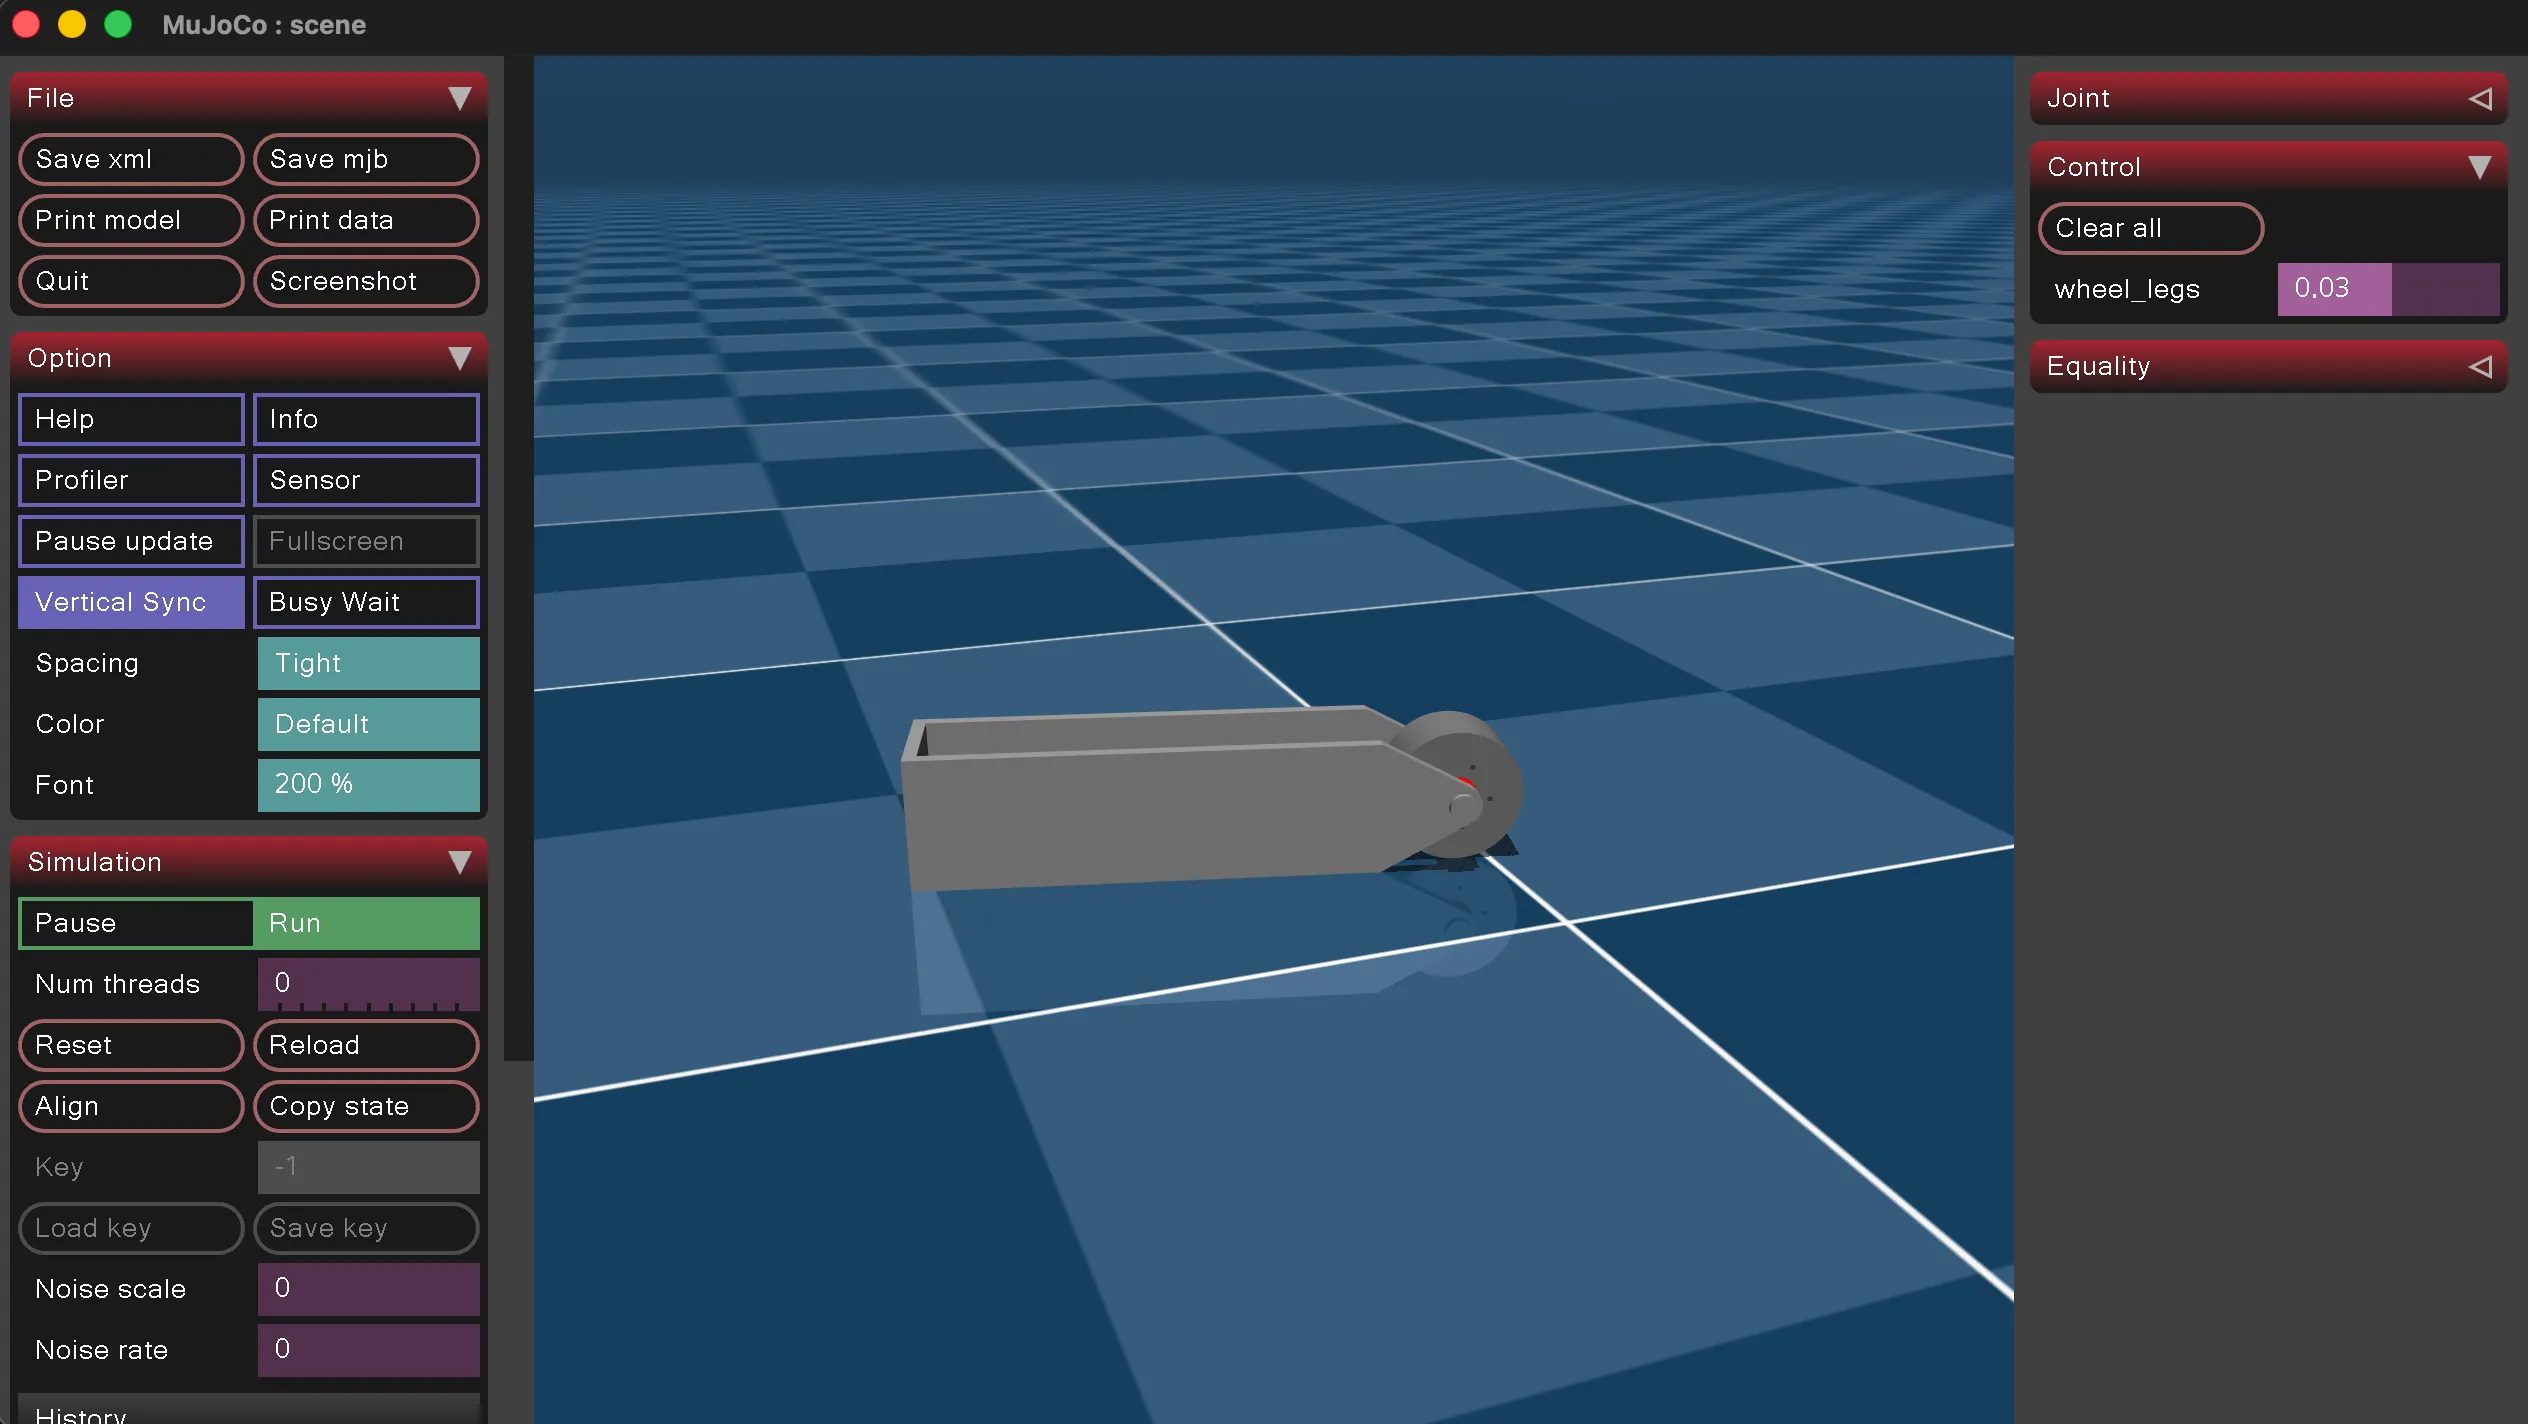
[!CAUTION] When converting a pickle file to Mujoco XML, joint properties are baked into the pickle file. If you edit
joint_propertiesin config.json after retrieving the file, the changes won’t be reflected in the XML. See #206. Delete the pickle file and re-fetch the model for changes to take effect.